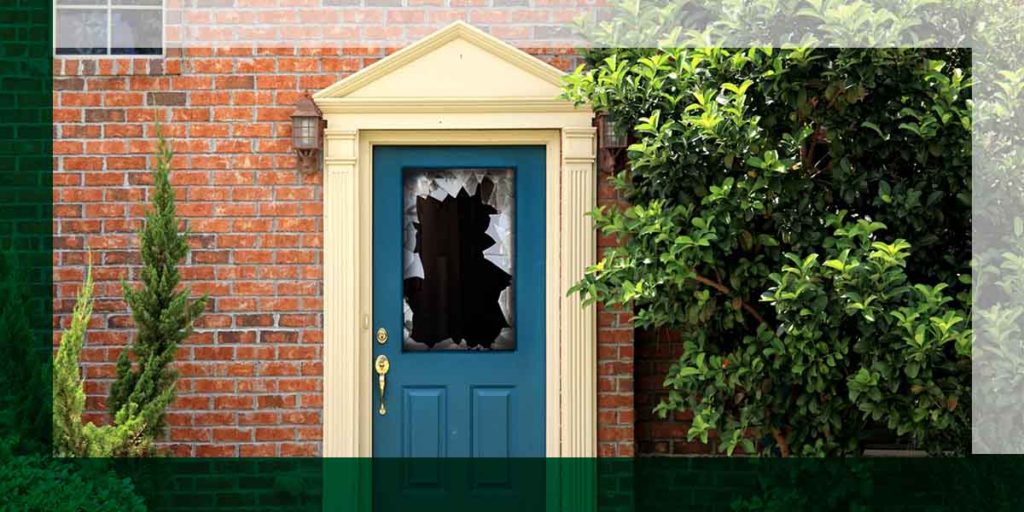
Whether you are interested in remodeling parts of your home or just walking through your front door each day, you may notice a few marks on your exterior or interior doors. Cracks, dents, scratches, and chipped paint can appear out of nowhere as you regularly make your way through these doorframes. Luckily, with the right preparations and this step-by-step guide by your side, you can make your doors look as good as new.
Keep reading to learn how to fix an interior, side, back, or front door that’s cracked and the materials you need.
How Do Doors Become Cracked or Damaged?
Interior wood doors act as a transition from one living space to another while providing an extra sense of style around your home. These additions to your house also have an impressive life span, typically lasting 20 to 30 years with a hollow interior and 30 to 100 years with a solid wood core. Exterior wood doors have the longest life span, reaching over 100 years of use — great for any homeowner interested in style and keeping out cold temperatures.
Although wood doors are better protected indoors than outdoors from weather conditions and fluctuating temperatures, cracks and other damages can still happen naturally over time to both options. Exterior doors are more prone to flying debris, intense sun rays, wildlife and the occasional flying baseball that can all easily crack or damage wood material. Interior doors might not see this same kind of action, but they age quicker than their counterparts, making them more susceptible to damage from aging.
If your interior or exterior door is damaged for any reason, not to worry! How you repair a cracked wood door panel is a simple process you can do on your own or with a trusted contractor by your side.
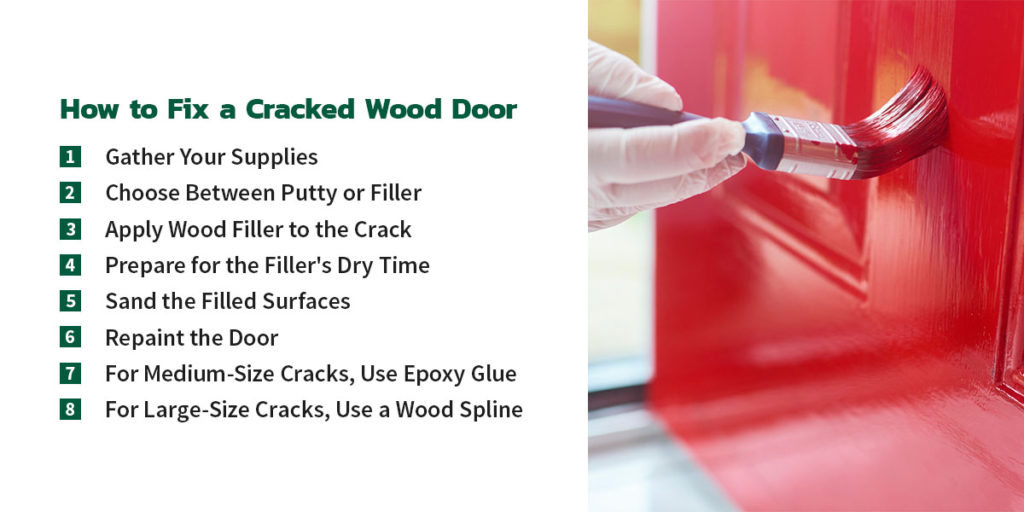
How to Fix a Cracked Wood Door
Now that your materials are ready to be put to good use, you can begin to fix your cracked door! The process of repairing cracks is fairly easy and should take at most an hour or two to complete. Using the wood putty and filler you have set aside, you can decide which option best suits your door’s needs, which impacts the rest of the steps to make your door look as good as new again.
Follow the upcoming step-by-step repair guide for a stylish door that compliments your living spaces.
1. Gather Your Supplies
Before repairing your cracked or damaged door, there are a few tools and essentials to have by your side to get the job done right. You can find these supplies at your local hardware store.
For a cracked door repair, you will need the following tools and materials:
- Putty knife
- Dremel tool
- Wood putty or filler
- Sandpaper
- Wood spline
- Epoxy sealer and adhesive
2. Choose Between Putty or Filler
The first step to fixing a cracked door is to fill the space with putty or filler. If you have both materials, choosing between the two can set the next few steps in motion.
If you have a painted door, you can go with wood filler. This material dries hard so you can fill the crack, sand the filler and repaint the door to the original color you chose to match the rest of your home.
Wood putty is a quick and easy option if the damages on your door are small or barely noticeable to your family or guests. Unlike filler, putty is a flexible material that does not dry hard. All you need to do is fill the cracked part of the door and scrape the putty, so it is flush with the rest of the door.
3. Apply Wood Filler to the Crack
If you are going the wood filler route, the next step in repairing your door is to grab your putty knife and begin applying the filler to all the cracks you notice in your door. Scooping the putty into the cracks using the knife can get into the deep, impacted parts of the door.
Start by applying a small amount of wood filler to each crack’s inside ridges to cover the entire surface area. Scoop more filler into the cracks until the material reaches past the door’s surface.
4. Prepare for the Filler’s Dry Time
After applying the filler to each door crack, wait for the filler to dry completely before moving to the next step. The dry time can depend on the type of filler you have, so be prepared to wait for every filled crack to have a firm texture before moving on to the next step.
5. Sand the Filled Surfaces
Once the filler has dried in each door’s cracks, you can start using the sandpaper to create a flat surface. The filler may exceed the height of the door, and that’s perfectly fine! You can sand down any extra filler that dried outside the door cracks. Sand down the filler until it is the same height as the rest of the door’s surface. Try not to apply too much pressure to the filler when it becomes flatter to avoid indenting into the door.
6. Repaint the Door
Channel your inner Picasso with this final step of fixing your door’s cracks! Once the filler is flat, you can find paint matching the existing door’s color or a different palette to work with for a new look. For a perfected, even color for your entire door, you can reapply paint to the whole door for multiple solid layers of the same hue.
7. For Medium-Size Cracks, Use Epoxy Glue
Medium-sized cracks can take more time and tougher material to fill. Luckily, epoxy adhesive is a great tool that can easily patch a door crack.
All you need to do is add the epoxy sealer to the inside ridges of the crack. Then, place a drop of the adhesive into the crack. You will notice it expands inside the damaged area of the door. Wait for the adhesive to dry before adding another layer to flatten the glue on the door’s surface. Once this layer dries, you can sand the material down with sandpaper so the adhesive is flush with the door.
8. For Large-Size Cracks, Use a Wood Spline
Large cracks can be more of a hassle to fill since they have more space that the wood glue needs to occupy. To help the glue dry with the support of a base, you can use your wood spline to add to the door crack.
Using your dremel tool, open the door crack wide enough to place the wood spline inside the damaged area. A mallet or hammer should make inserting the wood spline easier. Now that you know the spline can fit, you can add your wood glue into these spaces to fill the rest of the door crack. You can sand the wood spline to be flush against the door’s surface and repaint the damaged areas once the glue dries.
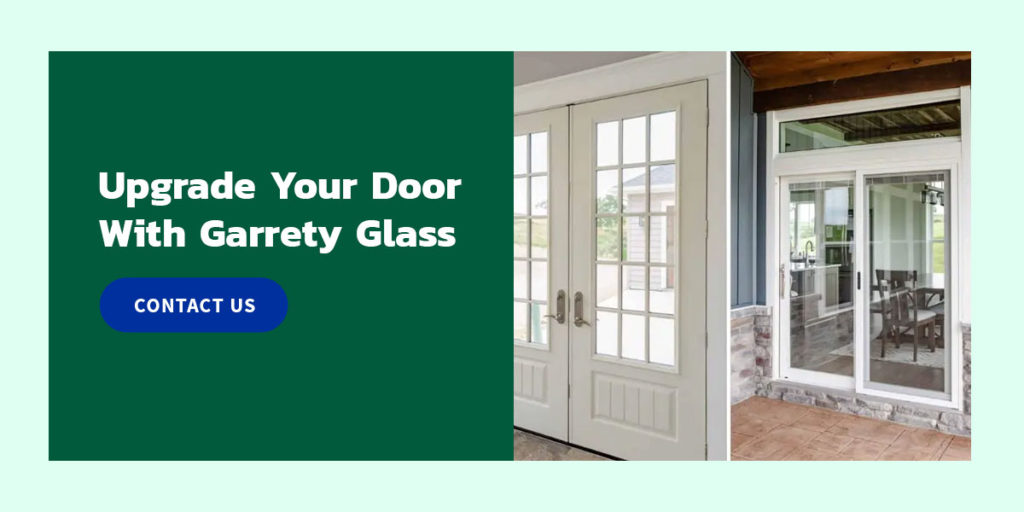
Upgrade Your Door With Garrety Glass
If making your door look as good as new is becoming a hassle, Garrety Glass is here to help! Our selection of exterior doors can make your vision for a new stylish door come to life.
Our free at-home consultation is the first step. You will get to talk with one of our experienced contractors to find the best option to fit your home’s style and aesthetic preferences. Once our team can find an exterior door you love that matches your budget and favorite design, we can install your new door so you can enjoy this new addition to your home as soon as possible.
Contact us today for a free consultation to upgrade your door.